Deploy .ADMX Files with MEM/Intune.
This is a quick example of taking a ADMX file and converting it to a OMA-URI ready for a custom device profile.
1). First we have to grab the ADMX file (We will use google .ADMX file)
Downlaod the Google Chrome Enterprise x64 bundle - (Google Chrome Enterprise x64 )
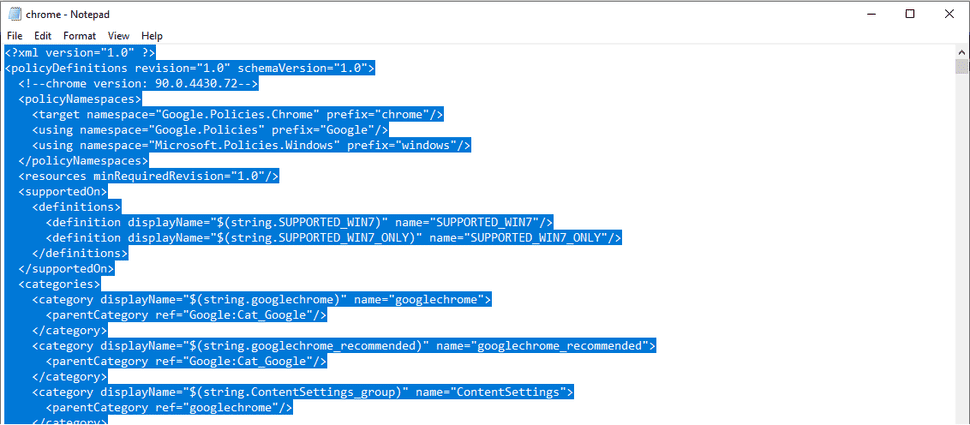
The file we need is call "chrome.admx" file shown below
2). head over to the endpoint portal
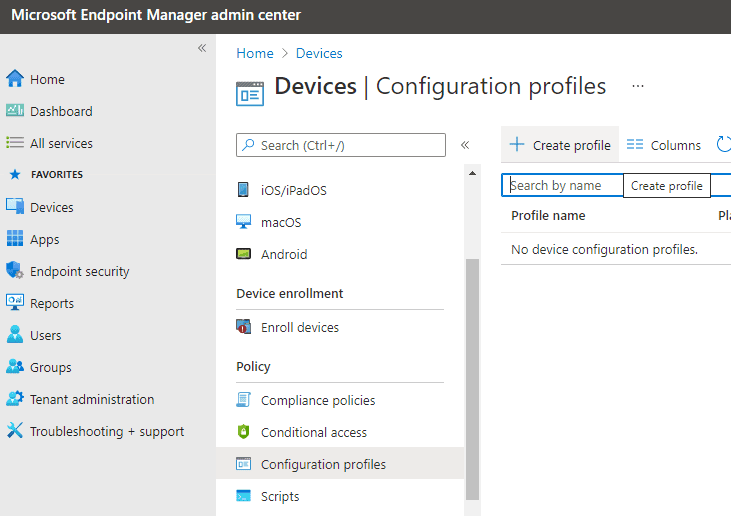
3). Go devices view, select configuration profiles and then create profile:
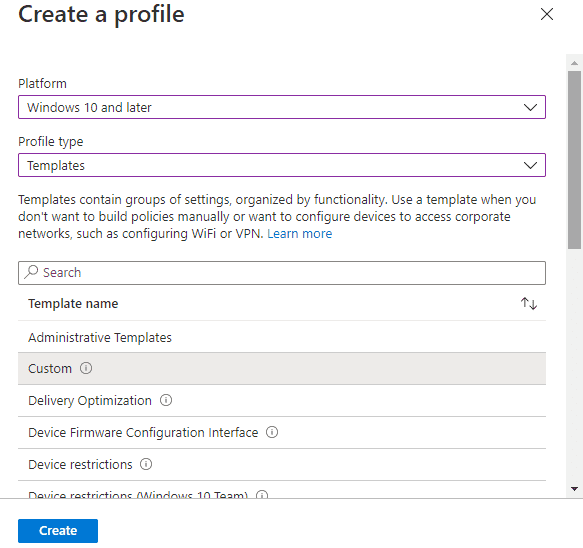
4). Select Windows 10 and later as platform and profile type as Templates and then select custom from the template names and then click create
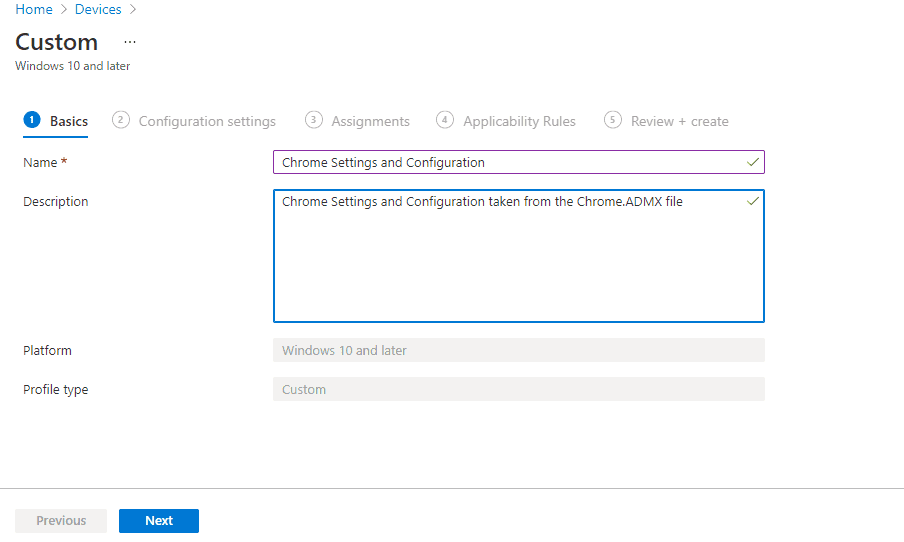
5). In this screen you need give your device profile a name and if necessary a description and click next
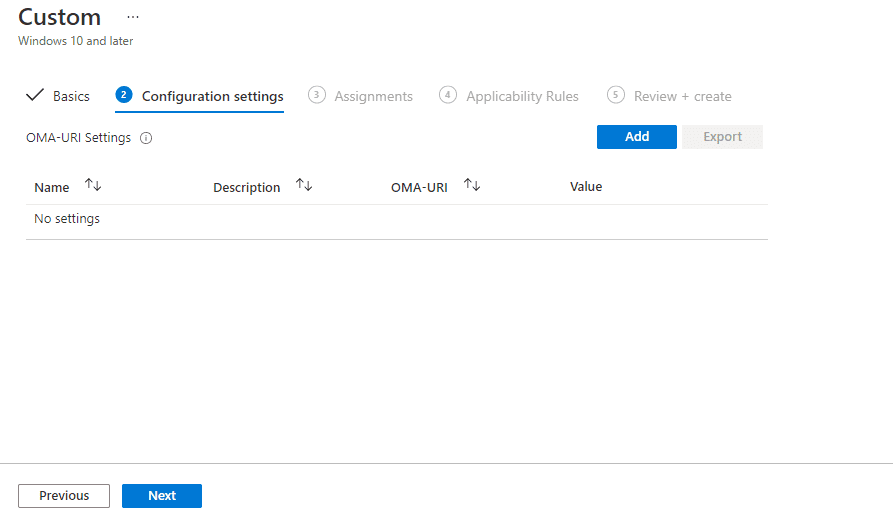
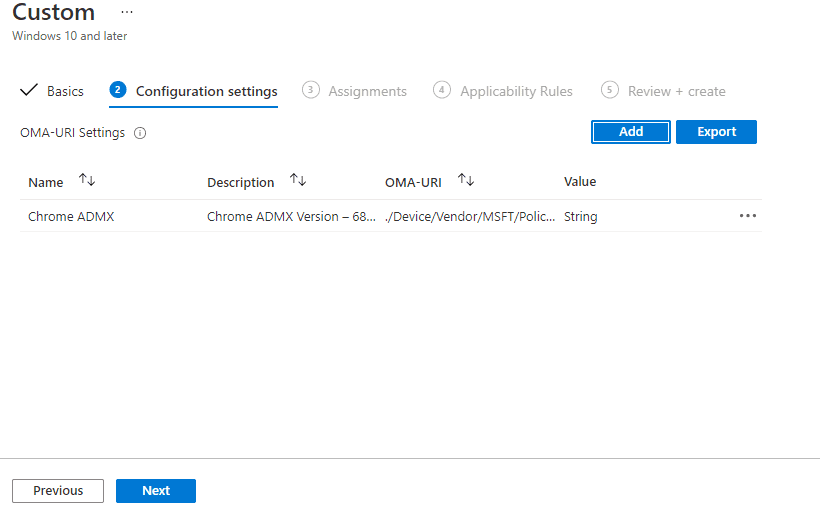
6). In this screen we can add the settings and configuration from the chrome.admx file we downloaded earlier.
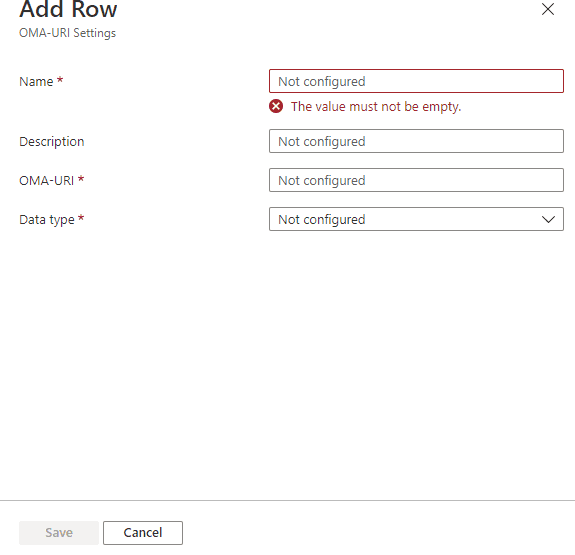
Click Add to create the first OMA-URI setting
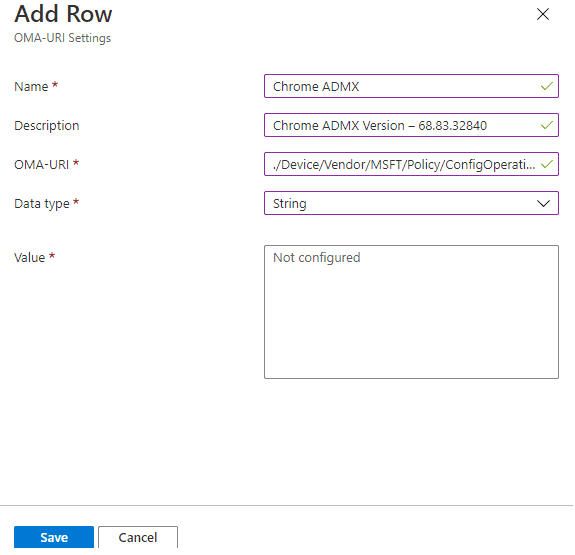
In there we put the following information.
Name - Chrome ADMX Ingestion
Description - Chrome ADMX Version – 68.83.32840
OMA-URI - ./Device/Vendor/MSFT/Policy/ConfigOperations/ADMXInstall/Chrome/Policy/ChromeAdmx
Data type - String (when you select string you get a another box called value)
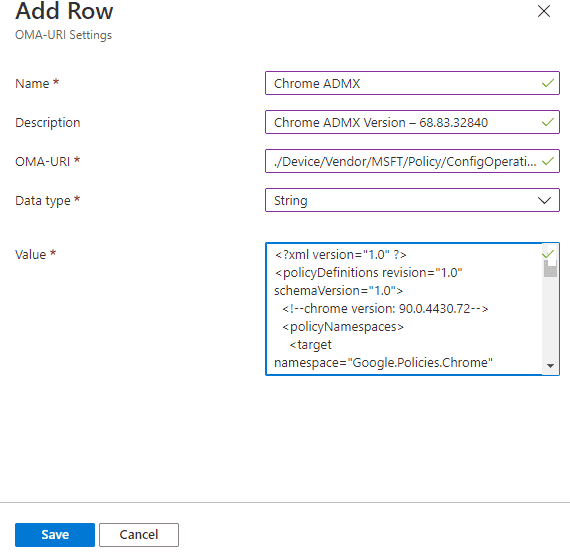
Value - We need to add the contents of the chrome.admx file.
To do this right click on chrome.admx and select open and open in notepad for example
select all and copy and paste into value box
And click Save.
Now we added the chrome.admx we can now reference it in the following OMA-URI settings.
7). Click Add to create the next OMA-URI setting
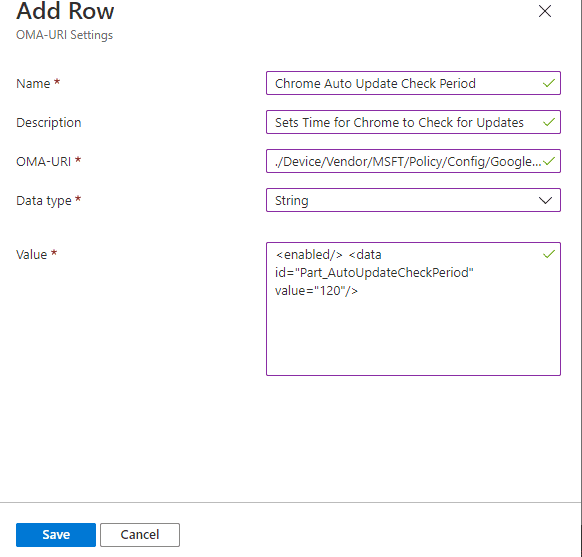
8). In this example it will be the Auto Update Period for Chrome
Name - Chrome Auto Update Check Period
Description - Sets Time for Chrome to Check for Updates
OMA-URI - ./Device/Vendor/MSFT/Policy/Config/GoogleUpdate~Policy~Cat _ GoogleUpdate~Cat _ Preferences/Pol_AutoUpdateCheckPeriod (no spaces in the line)
Data type - String (when you select string you get a another box called value)
And click Save.
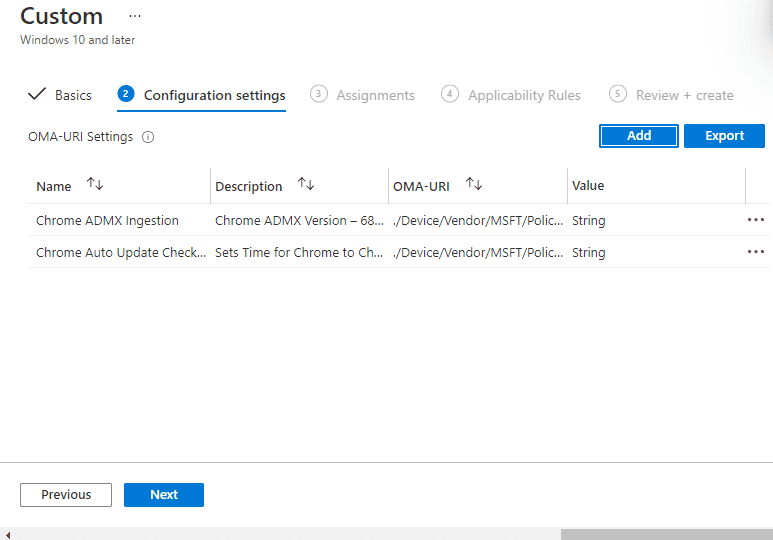
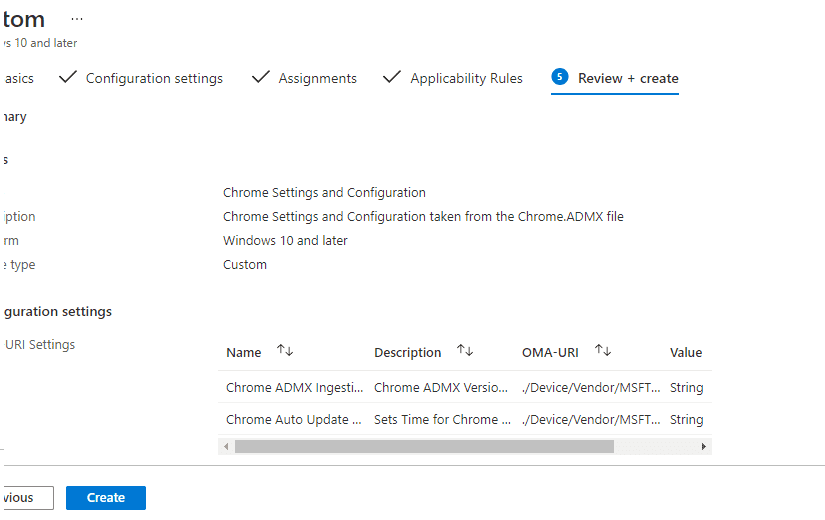
We should now see two OMA-URI settings in our policy
9). Click next.
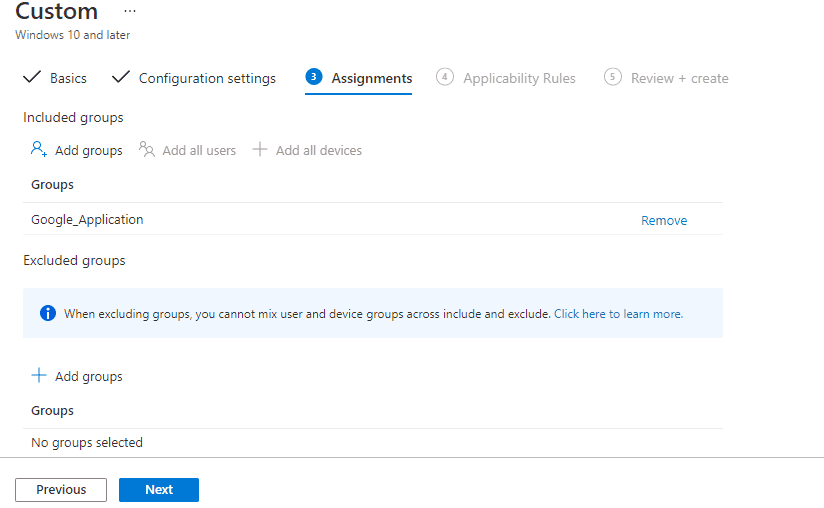
10). In the Assignments section we now need to deploy our OMA-URI settings, In this example I have selected my Google Chome Application users for deployment.
Hit the Next button to move to the next screen
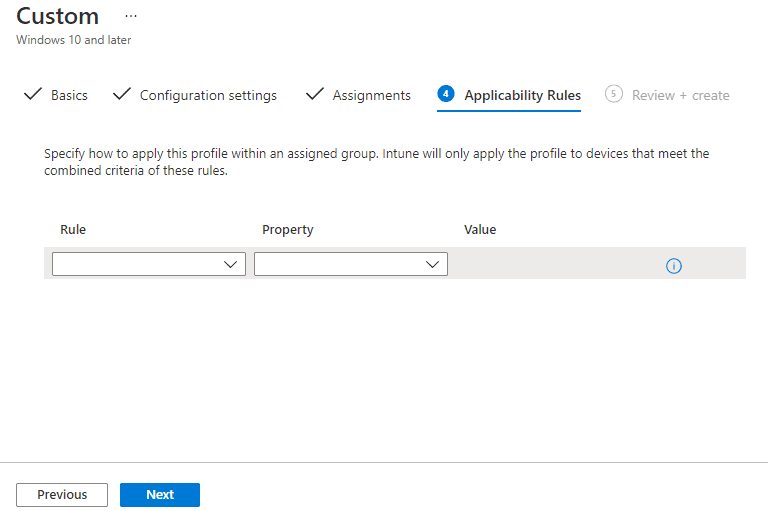
11). In the Applicability Rules section we can leave blank for this example
Hit the Next button to move to the next screen
12). In the final section we can double check any settings or make last minute changess.
Hit the Create button to deploy the custom device profile.

